Staff Scheduling
Assign employees to positions for each event date using the drag-and-drop scheduling grid, bulk copy tools, and auto-fill.
Before You Start
Staff scheduling sits at the center of the application. Before you can assign employees to positions, three things must be in place:
- Events with dates -- You need at least one event with one or more event dates configured. See the Event Management guide for setup instructions.
- Areas and positions -- Each event must have at least one active area attached, and each area must contain at least one position. See the Areas & Positions guide.
- Employee availability -- Employees must have submitted their availability for the event dates you want to schedule. Only employees who marked themselves as "available" appear in the scheduling panel. See the Employee Management guide for details on how employees submit availability.
Mental model: Think of the scheduling page as a two-panel workspace. The left panel is your pool of available employees for a specific date. The right panel is your grid of positions organized by area. Your job is to move employees from the left panel into position slots on the right until every position is filled.
Scheduling Grid Overview
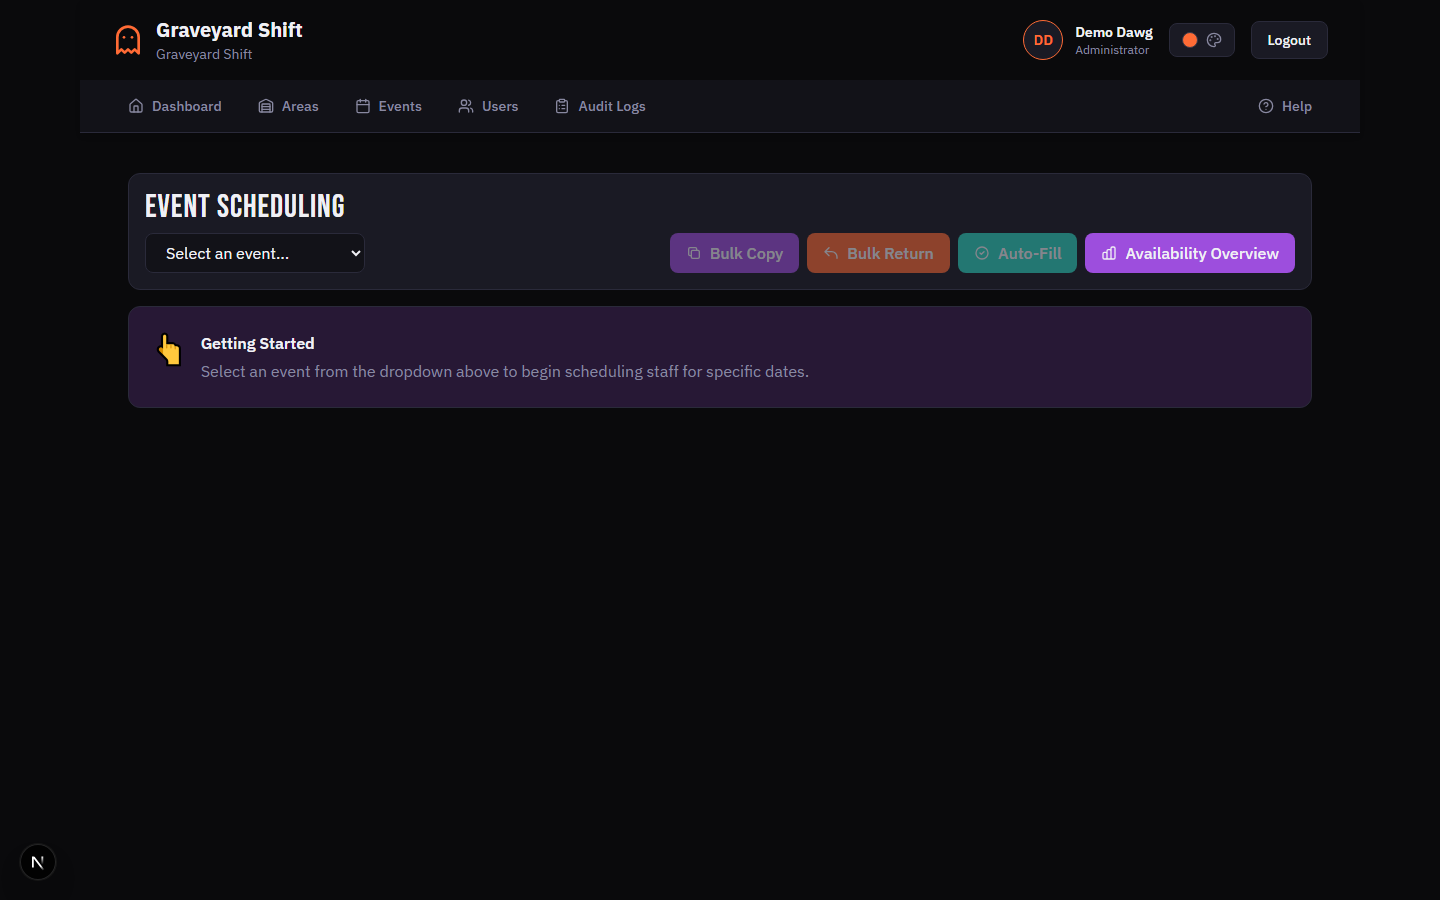
The scheduling page is accessed from the Admin Dashboard. It is built around a header bar with controls and a two-panel layout for making assignments.
Header Controls
The page header contains the event selector dropdown and four action buttons:
Bulk Copy-- Opens the modal to copy all assignments from the current date to other dates in the same event.Bulk Return-- Opens the costume bulk return modal for the selected date, useful for processing costume returns after a show night.Auto-Fill-- Automatically assigns available employees to unfilled positions, prioritizing qualified candidates.Availability Overview-- Navigates to the availability dashboard for the selected event, where you can review employee availability across all dates.

Date Selector
Once you select an event, a horizontal row of date cards appears. Each card displays the day of the week, the calendar date, and a filled/total count. The cards are color-coded based on coverage:
- Green -- 80% or more of positions are filled.
- Yellow -- 60% to 79% of positions are filled.
- Red -- Less than 60% of positions are filled.
- Neutral -- Coverage data has not yet been loaded for this date (click the date to load it).
Click a date card to load its scheduling data. The selected card is highlighted with the primary accent color and a glow ring. A legend in the top-right corner of the date selector explains the color coding.
Stats Bar
Below the date selector, four stat cards summarize the scheduling status for the selected date:
Stats Bar Metrics
| Field | Required | Description |
|---|---|---|
Total Positions | No | The number of active positions across all areas attached to the selected event. This is the total headcount you need to fill. |
Filled | No | The number of positions that currently have an employee assigned with a status of "assigned" or "confirmed". |
Coverage | No | The percentage of positions filled, calculated as (Filled / Total Positions) x 100. Displayed as a percentage. |
Available Staff | No | The number of employees who submitted their availability as "available" for the selected event date. |
View Modes
A view toggle below the stats bar lets you switch between three layout options. Your selection persists for the duration of your session.
View Modes
| Field | Required | Description |
|---|---|---|
Matrix | No | A table layout with positions as rows, grouped by area. Columns show the position name, assigned employee, status badge, and a remove button. Best for seeing all positions at once with full detail. |
Kanban | No | A column-based layout where each area gets its own vertical column. Position cards stack inside each column. Best for visually grouping positions by area and tracking per-area fill rates. |
List | No | A compact row-based layout with a dropdown selector for each position instead of drag-and-drop. Best for quick assignment when you already know which employee goes where, or when working on a device without drag-and-drop support. |
Available Staff Panel
The left side of the grid shows a sticky panel titled "Available Staff" with a count of employees. Each employee card shows their name, initials avatar, and experience level if set. A search field at the top of the panel filters the list by name. Employees who are already assigned to a position on the current date are hidden from the list so you only see who is still unscheduled.
Positions Grid
The right side of the layout displays all positions organized by area. Each position shows its name, time range, and current assignment status. Unfilled positions display a dashed border with a "Drag staff here to assign" placeholder. Filled positions show the assigned employee name, a green "Filled" badge, and a remove button (X icon) to clear the assignment.
Assigning Employees
The primary way to assign employees is drag-and-drop. In List view, you can also use a dropdown selector. Follow these steps for a standard drag-and-drop assignment.
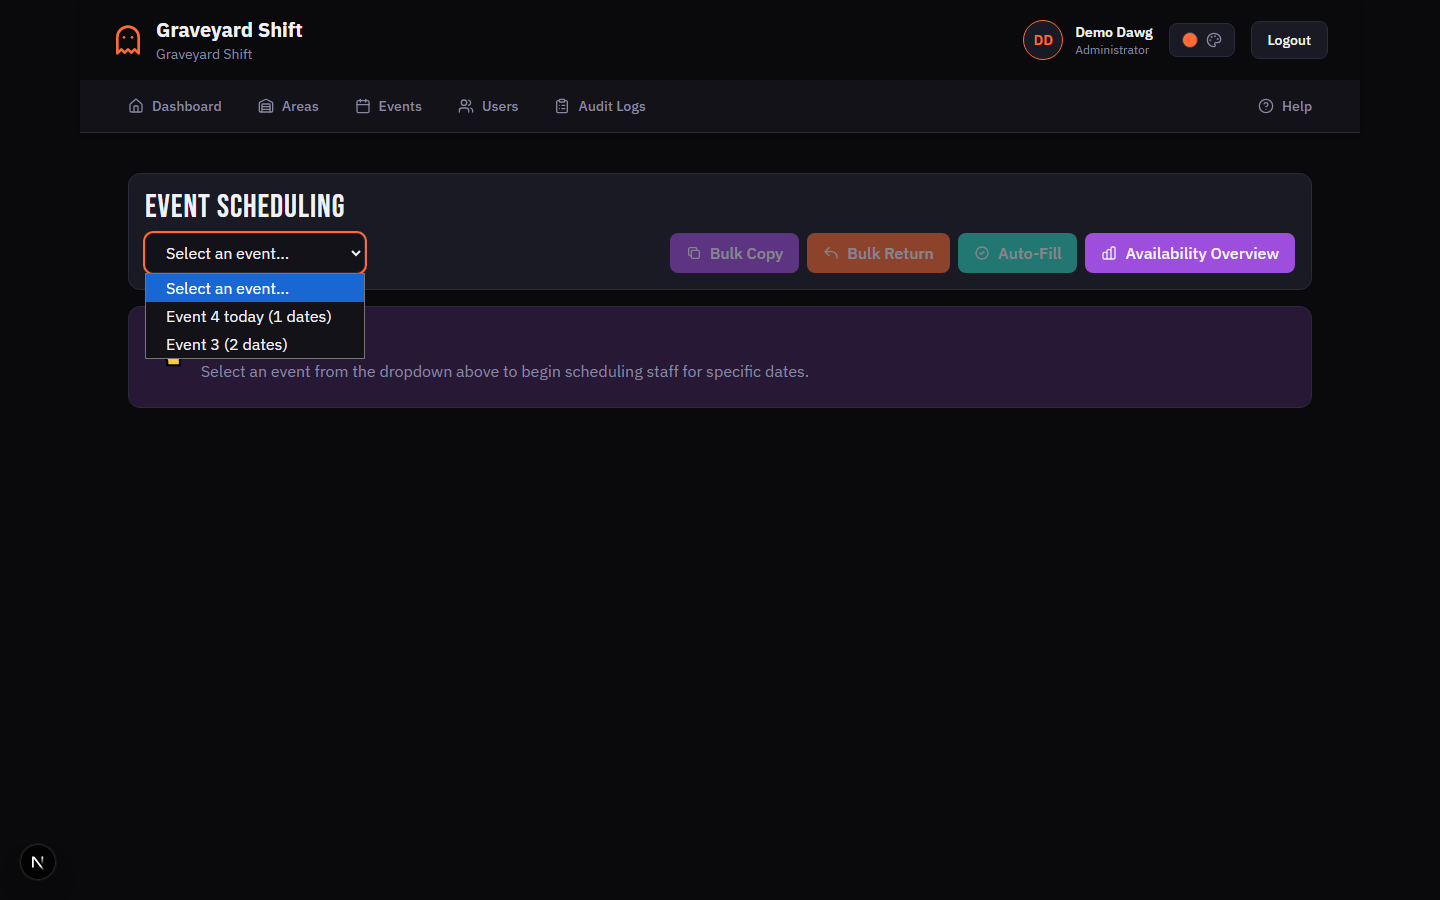
Select an event
Open the scheduling page from the Admin Dashboard. Use the event dropdown in the page header to choose the event you want to schedule. The dropdown shows every event along with the number of dates configured for it.
Select a date
After selecting an event, a row of date cards appears. Each card shows the day of the week, the calendar date, and a filled/total count if coverage data has been loaded. Click a date card to load the scheduling grid for that date.
Find the employee in the Available Staff panel
The left panel lists every employee who has marked themselves as available for the selected date. Use the search field at the top of the panel to filter by name. Employees who are already assigned to a position on this date are automatically hidden from the list.
Drag the employee onto a position slot
Click and hold an employee card, then drag it over to an empty position slot on the right side of the grid. In Matrix view, drop the employee onto the "Drag staff here to assign" placeholder row. In Kanban view, drop onto the card marked "Drop staff here". In List view, use the dropdown selector next to each position instead of drag-and-drop.
System validates the assignment
When you drop an employee onto a position, the system runs conflict detection before creating the assignment. It checks for time conflicts with other assignments on the same date, whether the employee marked this date as unavailable, and whether the employee is qualified for the position. Blocking conflicts (time overlaps) prevent the assignment. Warnings (unavailable status, missing qualification) are displayed but do not block.
Confirmation notification
If the assignment succeeds, a green notification appears at the top right of the screen reading "Employee assigned successfully". The position slot updates to show the assigned employee name and a green "Filled" badge. The coverage statistics update automatically. If a costume is linked to the position, it is automatically assigned to the employee as well.
Removing an Assignment
To remove an employee from a position, click the X icon in the actions column (Matrix view) or on the position card (Kanban view). In List view, change the dropdown back to -- Select Staff --. The position reverts to an empty state and the employee reappears in the Available Staff panel.
Conflict Detection
Every time you assign an employee to a position, the system runs a series of validation checks before creating the assignment. There are two severity levels: errors that block the assignment and warnings that allow it to proceed.
Blocking Conflicts (Errors)
These conflicts prevent the assignment from being created:
- Time conflict -- The employee is already assigned to another position on the same date with overlapping time ranges. The error message identifies the conflicting position and its time range.
Non-Blocking Conflicts (Warnings)
These issues are flagged but do not prevent assignment:
- Availability conflict -- The employee marked this date as unavailable. The assignment can still be made at the admin's discretion.
- Qualification conflict -- The employee is not listed as qualified for this specific position in their employee profile. The assignment proceeds but the admin should verify the employee can perform the role.
Coverage Tracking
Coverage tracking helps you understand at a glance how well-staffed each event date is. Coverage data appears in two places: the date selector cards and the stats bar.
Date Card Coverage
Each date card in the date selector displays a filled/total count (e.g., "8/12") and is color-coded using the following thresholds:
- Green (80%+) -- Most positions are filled. You are in good shape for this date.
- Yellow (60-79%) -- Some positions remain unfilled. Review and assign remaining staff.
- Red (below 60%) -- Significant staffing gaps exist. Prioritize this date.
Coverage data is loaded the first time you click a date card. The date selector retains the coverage data for dates you have already viewed, so you can scan across multiple dates without reloading.
Per-Area Coverage
In Kanban view, each area column header displays a filled/total count (e.g., "3/5 filled"). In Matrix view, area header rows show the total number of positions in that area. Use the Show unfilled only toggle to filter the grid to only positions that still need staff, making it easy to see exactly where the gaps are.
Bulk Operations
When you have many dates to schedule for the same event, bulk operations save significant time. The scheduling page offers two bulk tools: Bulk Copy and Auto-Fill.
Bulk Copy
Bulk Copy takes every assignment from the currently selected date and replicates it across one or more target dates within the same event. This is ideal when most of your staff work the same positions every night.
Complete scheduling for one date
Finish assigning employees for a single event date. This date becomes your source schedule that you will copy to other dates.
Click Bulk Copy in the header
Click the Bulk Copy button in the page header. A modal dialog opens showing the source date and the number of assignments that will be copied.
Select target dates
Check the boxes next to the dates you want to copy assignments to. Use Select All to check every remaining date in the event, or Clear All to start over. Each target date shows its day, calendar date, and time range.
Click Copy Assignments
Click the Copy Assignments button to start the bulk copy. The system copies each assignment from the source date to every selected target date. If an employee already has a conflicting assignment on a target date, that individual copy is skipped. A summary notification reports how many assignments were copied and how many were skipped due to conflicts.
Auto-Fill
Auto-Fill examines every unfilled position on the selected date and attempts to assign an available employee. The system prioritizes employees who are qualified for each position based on their employee profile. If no qualified employee is available, an unqualified employee is assigned and a note is added to the assignment flagging the mismatch.
Select an event and date
Choose the event and date you want to auto-fill. The system needs to know which positions are unfilled and which employees are available for that date.
Click Auto-Fill in the header
Click the green Auto-Fill button in the page header. The system examines every unfilled position for the selected date and attempts to match available employees to those positions.
Review the results
A notification reports how many positions were filled and how many were skipped. The system prioritizes employees who are qualified for each position (those assigned to the position in their employee profile). If no qualified employee is available, an unqualified employee is assigned instead with a note flagging the mismatch. Already-assigned employees are not double-booked.
Search and Filter
The scheduling page provides several filtering tools to help you navigate large schedules efficiently.
Employee Search
The search field in the Available Staff panel filters employees by first and last name. Type any part of an employee's name to narrow the list. The filter is case-insensitive and matches against the full name string. Clear the search field to show all available employees again.
Position and Area Search
Above the positions grid, a search field lets you filter positions by name or area name. This is useful when you have many areas and need to quickly find a specific position.
Area Filter Pills
Next to the position search field, a row of area filter pills allows you to show positions from specific areas only. Click an area pill to toggle it on or off. Click All Areas to clear all area filters and show every position. When you have more than five areas, the additional areas are collapsed behind a "+N more" button.
Show Unfilled Only
The Show unfilled only checkbox in the view mode toolbar filters the grid to display only positions that do not have an employee assigned. This is helpful late in the scheduling process when most positions are filled and you want to focus on the remaining gaps.
Best Practices
- Schedule one date fully, then use Bulk Copy. Invest time in getting one date right -- placing the right people in the right positions -- then copy that schedule to all other dates in the event. This is far faster than scheduling each date individually and ensures consistency across show nights.
- Check availability before scheduling. Use the
Availability Overviewbutton to review employee availability across all dates before you start assigning. This helps you identify dates with low availability early and plan accordingly. - Assign qualified employees first. Employees with position qualifications in their profile are best suited for those roles. Assign qualified employees to their primary positions before filling remaining gaps with unqualified staff. Auto-Fill follows this same priority automatically.
- Use the date card colors as a dashboard. After loading a few dates, scan the date card colors. Green means the date is well-staffed. Yellow and red dates need attention. Click through each date at least once to populate the coverage data, then use the colors to prioritize your work.
- Review auto-fill results before show night. Auto-Fill is a time-saver, but it does not account for personal preferences, experience seniority, or team dynamics. After running auto-fill, review the assignments and make manual adjustments where needed. Pay special attention to assignments flagged as "not qualified".
Troubleshooting
Employee does not appear in the Available Staff list
The Available Staff panel only shows employees who submitted their availability as "available" for the selected event date and whose availability is not in draft status. If an employee is missing, check the following: (1) the employee has submitted availability for this specific event date, (2) their availability status is "available" and not "unavailable", (3) their availability submission is not still in draft mode, and (4) their employee profile is approved. Also check that the search field in the staff panel is not filtering them out.
Coverage shows 0% but I have assigned employees
This typically means the areas you assigned positions in are not attached to the selected event. The coverage calculation only counts positions from areas listed in the event's active area configuration. Go to Event Management, edit the event, and verify that the correct areas are checked. If you recently added a new area, it needs to be explicitly attached to the event before its positions appear on the scheduling grid.
I need to swap two employees between positions
Remove the assignment from the first position by clicking the X icon, then remove the assignment from the second position. Now assign each employee to the other position. This two-step process is necessary because the system does not allow an employee to be assigned to two overlapping positions simultaneously, which would happen during a direct swap.
Positions are not showing on the scheduling grid
Positions only appear when their parent area is attached to the selected event and the position is marked as active. Check the following: (1) the area is included in the event's active areas list (edit the event to verify), (2) the position's active flag is set to true (check the area detail page), and (3) you have not applied area filters or the Show unfilled only toggle that might be hiding the position. Try clicking All Areas and unchecking the unfilled-only toggle to reset all filters.