Employee Management
Manage staff profiles, review applications, and maintain personnel data for your haunted attraction crew.
Before You Start
This page is for administrators who manage staff. Employees do not use this interface directly — they self-register through a public registration form and manage their own profile after approval.
The employee lifecycle follows a straightforward flow: employees apply via the registration form, an admin reviews each application, then approves or rejects it. Approved employees become active and can be scheduled for events.
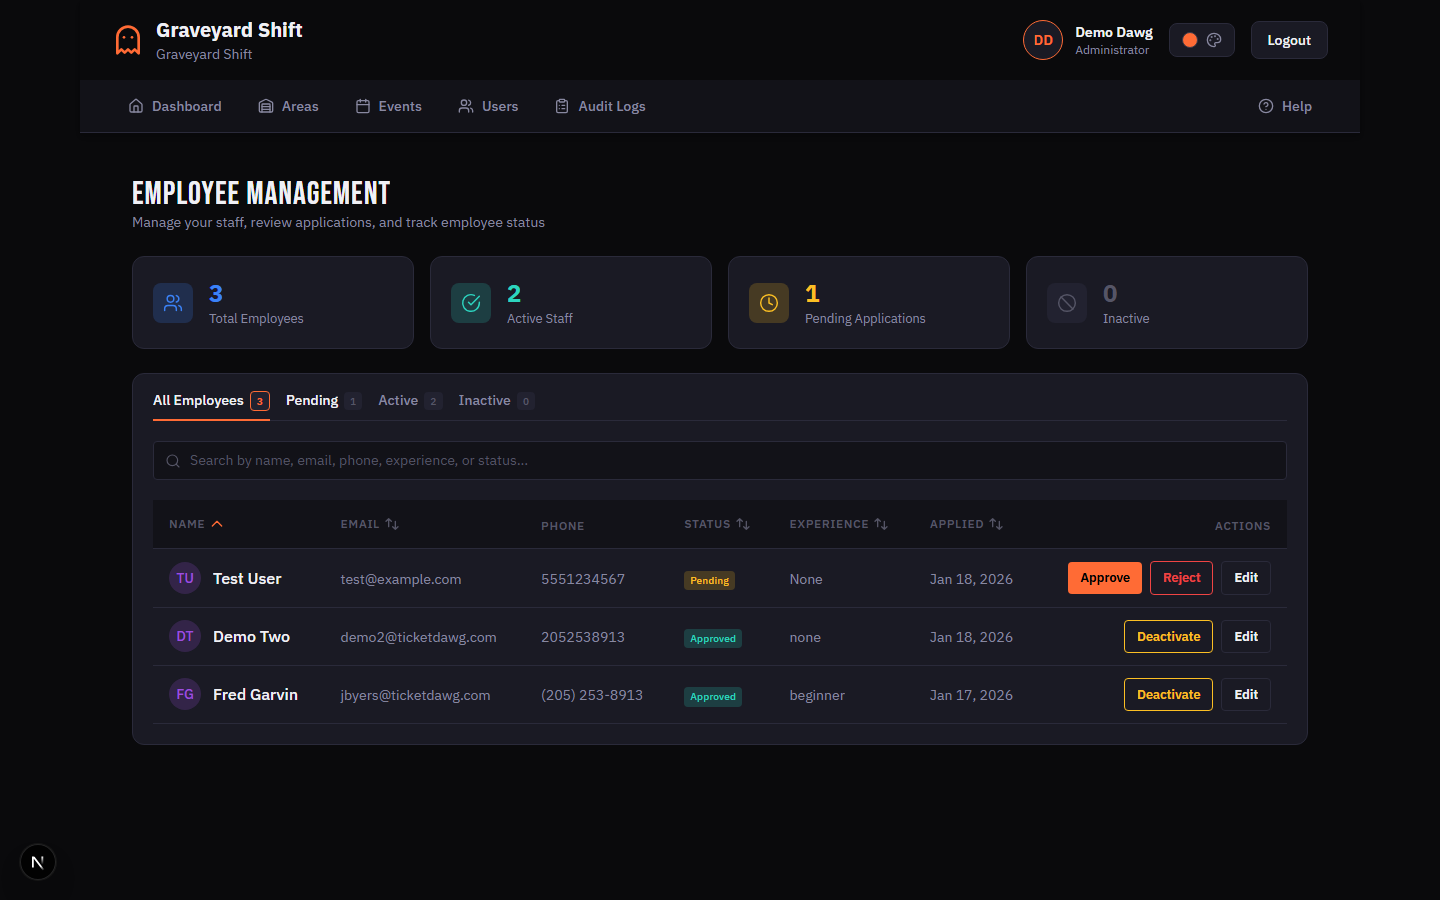
Employee List and Filtering
The employee list is the central view for managing all staff. Each row shows the employee name, contact information, experience level, and a status badge indicating their current state:
- Pending (yellow) — application submitted, awaiting admin review.
- Active (green) — approved and able to log in, submit availability, and be scheduled.
- Inactive (gray) — account deactivated by an admin. Cannot log in.
Four filter tabs appear at the top of the list: All, Pending, Active, and Inactive. Each tab displays a count of matching employees so you can see at a glance how many applications are waiting.
A search bar above the list lets you search by name, email, phone number, or experience level. The search applies within whichever filter tab is currently selected.
Above the list, stats cards provide a summary view showing the total number of employees alongside breakdowns for Active, Pending, and Inactive counts.
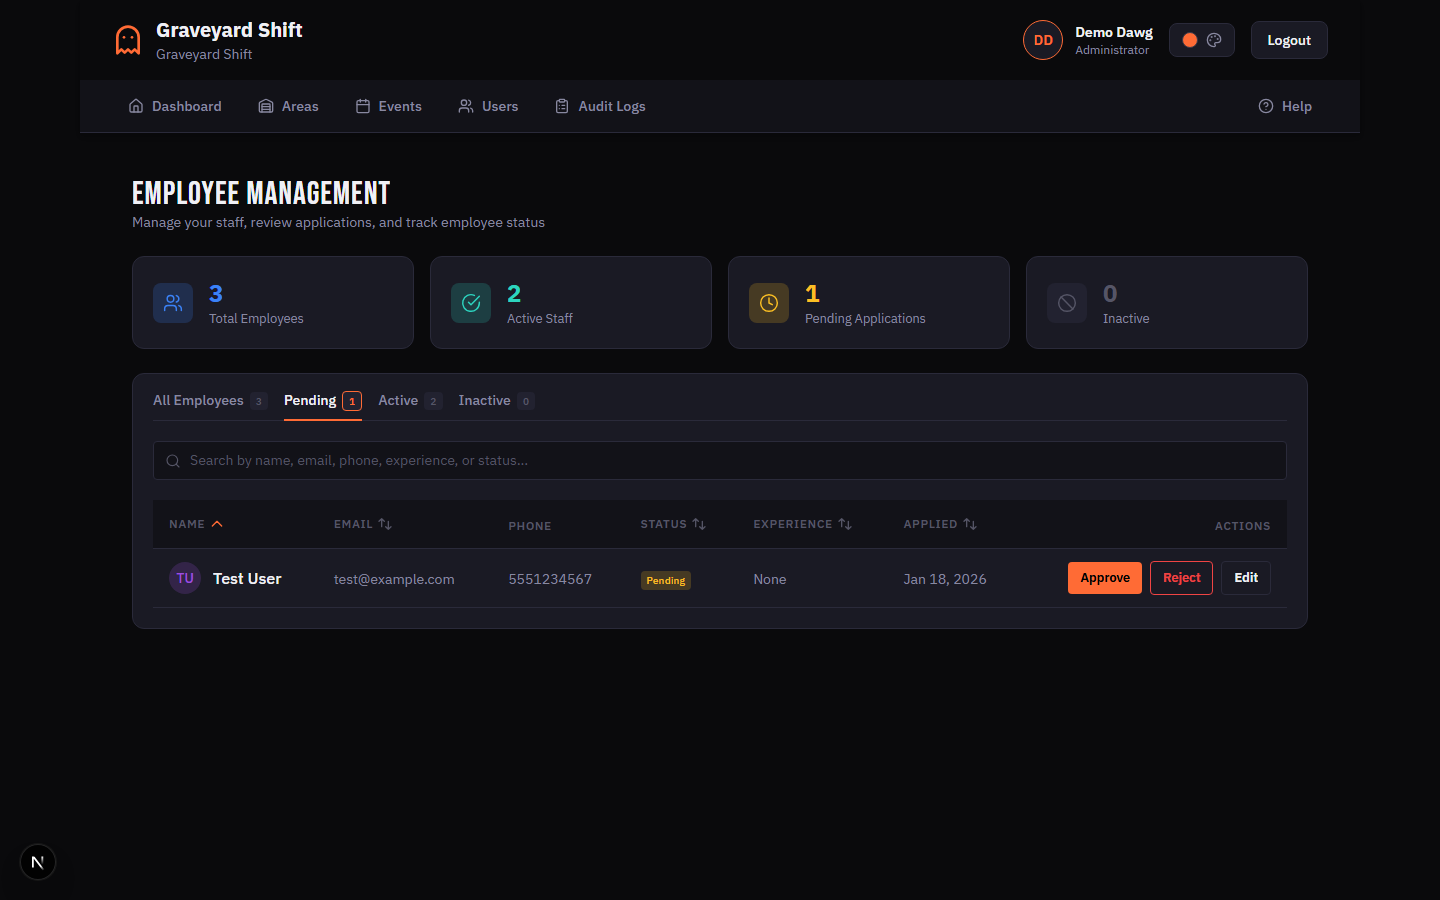
Reviewing Applications
When an employee submits a registration form, their application appears in the Pending tab. You can approve or reject each application after reviewing the details.
Approving an Application
Open the Pending tab
Navigate to Employee Management from the Admin Tools section. Click the Pending filter tab at the top of the employee list. The tab shows the number of applications waiting for review.
Review the application
Click an applicant’s name to open their profile. Review personal information, emergency contacts, experience level, and any notes they submitted during registration.

Click Approve
At the top of the profile, click the Approve button. A confirmation dialog appears summarizing what will happen. Click Confirm to proceed.
Rejecting an Application
Open the applicant profile
From the Pending tab, click the applicant’s name to view their full profile.
Click Reject
Click the Reject button at the top of the profile. A dialog prompts you to optionally enter a reason for the rejection.
Enter a reason (optional) and confirm
Type a brief reason if desired, then click Confirm Rejection. The applicant is moved to a rejected state and cannot log in.
Employee Profile Fields
The following fields are collected during registration and displayed on the employee profile:
Profile Fields
| Field | Required | Description |
|---|---|---|
first_name | Yes | Employee’s first name. |
last_name | Yes | Employee’s last name. |
email | Yes | Primary email address used for login and notifications. |
phone | Yes | Mobile phone number for SMS notifications. |
address | No | Street address, city, state, and zip code. |
birth_date | No | Date of birth. Used for age verification where required. |
experience_level | Yes | Self-reported experience: None, Beginner, Intermediate, or Advanced. |
Viewing Employee Profiles
Click any employee name in the list to open their full profile. The profile is organized into three tabs:
Profile Tab
Displays all personal information — name, email, phone, address, birth date, and experience level. Admins can edit these fields directly from this tab.
Medical Info Tab
Contains health-related information and the employee's emergency contact. This tab is only visible to users with the Admin role.
Medical Information Fields
| Field | Required | Description |
|---|---|---|
allergies | No | Known allergies (latex, fog fluid, etc.). |
medical_conditions | No | Conditions that may affect performance or safety (asthma, epilepsy, etc.). |
medications | No | Current medications relevant to on-site safety. |
special_notes | No | Any additional medical information the admin should know. |
Emergency Contact Fields
| Field | Required | Description |
|---|---|---|
contact_name | Yes | Full name of the emergency contact. |
contact_phone | Yes | Phone number for the emergency contact. |
contact_relationship | Yes | Relationship to the employee (parent, spouse, friend, etc.). |
Employment History Tab
Shows a timeline of the employee's activity: when they applied, when they were approved, events they have been scheduled for, and any status changes (deactivation, reactivation). This provides a complete audit trail for each staff member.
Activating and Deactivating Accounts
Deactivating an Account
To deactivate an employee, open their profile and click Deactivate Account. A dialog prompts you to select a reason:
- Voluntary — the employee chose to leave.
- Performance — performance-related separation.
- Attendance — attendance or no-show issues.
- Seasonal — temporary deactivation for the off-season.
- Other — any reason not covered above.
You can also add free-text notes for additional context. Once confirmed, the employee loses login access immediately.
Reactivating an Account
To reactivate a previously deactivated employee, open their profile from the Inactive tab and click Reactivate. The employee receives an email notifying them that their account is active again, and their login access is restored immediately.
Best Practices
- Review pending applications within 48 hours. Prompt responses keep new staff engaged and give you more time to build schedules before events.
- Always add a rejection reason. Even though the reason field is optional, recording why an application was rejected creates a clear audit trail and helps with future decision-making.
- Use seasonal deactivation for the off-season. Rather than leaving accounts active year-round, deactivate employees with the Seasonal reason at the end of each haunt season and reactivate them when the next season begins. This keeps your active roster accurate.
- Review medical information for safety planning. Before assigning employees to areas with fog machines, strobe lights, or confined spaces, check their medical profile for relevant conditions or allergies.
- Keep emergency contact information up to date. Encourage employees to verify their emergency contact details at the start of each season. Accurate emergency contacts are critical for on-site safety.
Troubleshooting
Can't see medical info
The Medical Info tab is only visible to users with the Admin role. If you are logged in as a non-admin user, this tab will not appear. Contact your organization's administrator to request elevated access if needed.
Employee can't log in
Check the employee's account status in the employee list. If their status shows as Pending, their application has not been approved yet — approve it to grant login access. If their status is Inactive, their account has been deactivated and must be reactivated by an admin before they can sign in.
Approval email not received
Ask the employee to check their spam or junk folder. If the email is not there, verify that the email address on their profile is correct. You can view and edit the email from the employee's profile page. If the address is correct and the email still has not arrived, use the Force Password Reset action to trigger a new email with login credentials.
Can't delete an employee
Employee records cannot be permanently deleted. This is by design — employee data is preserved for scheduling history, audit trails, and compliance. Instead of deleting, use the Deactivate Account action to remove the employee from active use. Deactivated employees no longer appear in scheduling or availability views but their historical data is retained.